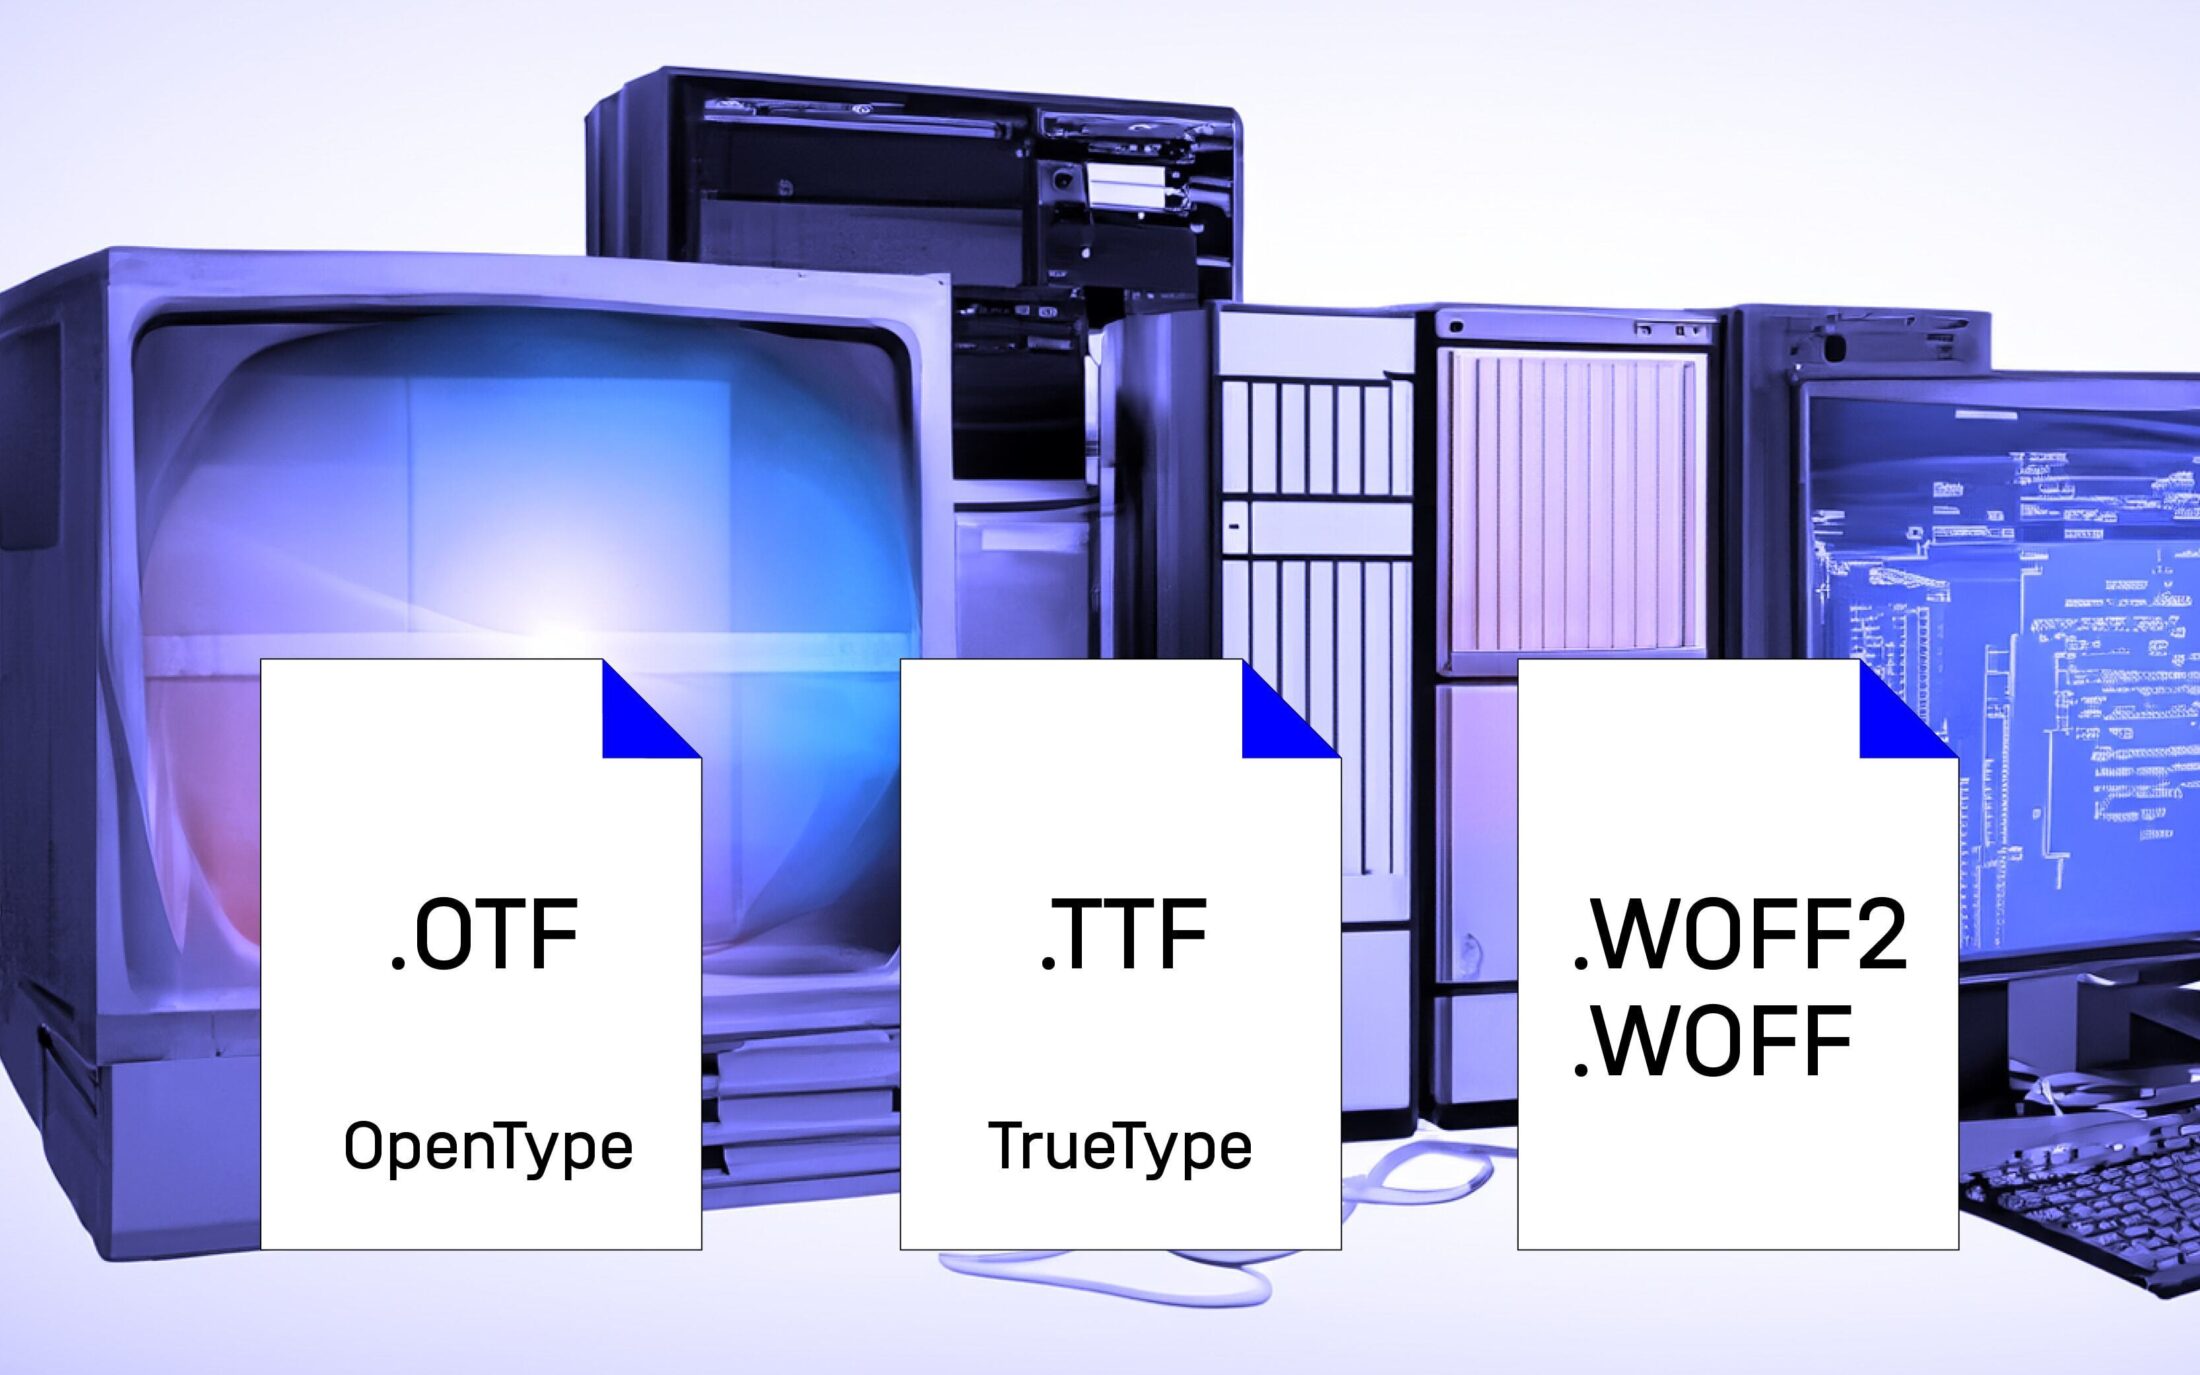
I Have the Fonts – What Now?
We will show you how to install our fonts and how to access OpenType features in different environments. Because each application has its own way of handling OpenType features, we try to give you an overview.

Background was created with AI in Photoshop
Font Installation Windows
1. Locate the downloaded font files
The font files are probably in the download folder. If not, you can use the Search feature to find them.
2 Unpacking the ZIP file (optional)
If the font files were downloaded as a ZIP file, right-click to open the menu. Select “Extract all ...” and then “Unzip”.
3. Selecting and installing fonts and font styles
Select all the fonts and styles you want with SHIFT or all with CTRL-A. Right-click to display the “Install” option (Windows 10). If the “Install” option is not displayed, it can be selected from the “Show more options” menu or by pressing Shift+F10 (Windows 11). Individual files can also be installed directly by double-clicking them and clicking the “Install” button. The installed fonts are added to the font collection and can be used in various applications.
Font Installation macOS
1. Locate the downloaded font files
The font files are probably in the download folder. If not, you can use the Search feature to find them.
2 Unpacking the ZIP file (optional)
If the font files were downloaded as a ZIP file, they can be unzipped by double-clicking them.
3. Selecting and installing fonts and font styles
The required fonts and styles can be selected all at once using SHIFT, or all at once using COMMAND-A. One or more windows will open - click the Install button. The installed fonts are added to the font collection and can now be used in various applications.
OpenType Features
These features are the hidden gem of a typeface. They allow you to play with variations and automatic substitutions within the fonts. Some work without you noticing, others have to be activated or deliberately selected. You will find them in different places in the various applications. Here are a few to give you an idea of where to look for them.
Figma
Video: Fractions, Superscript, Numbers, Slashed Zero, Stylistic Sets, Alternate Glyphs, Ligatures, Small Caps
InDesign
Video: Fractions, Superscript, Numbers, Slashed Zero, Stylistic Sets, Alternate Glyphs, Ligatures, Small Caps
Illustrator
Video: Fractions, Superscript, Numbers, Slashed Zero, Stylistic Sets, Alternate Glyphs, Ligatures, Small Caps
Photoshop
Video: Fractions, Superscript, Numbers, Slashed Zero, Alternate Glyphs, Ligatures, Small Caps
TextEdit, Pages, Numbers, Keynote
Video: Fractions, Superscript, Numbers, Slashed Zero, Stylistic Sets, Ligatures, Small Caps
Word
We are sorry, but kerning does not work in Word. We can provide you with a customised “Office Version”. Drop us a line at hej@typemates.com.
Video: Numbers, Ligatures
PowerPoint
We are sorry, OpenType features and kerning don’t work in PowerPoint. We can provide you with a customised version that will display your desired glyphs by default. Drop us a line at hej@typemates.com.
Troubleshooting
Ligatures are missing
There are three different kinds of ligatures: Standard Ligatures (liga), Discretionary Ligatures (dlig), Historical Ligatures (hlig). The shown examples of the programmes activate the Standard Ligatures. Unfortunately, even these do not work reliably in all programmes. The other two ligature types can only be found in official design programmes.
Embedding in Powerpoint
You cannot embed the fonts in Powerpoint. You will need a special licence to do this as you will be sharing the fonts. For font files that allow sharing/embedding, please contact us: hej@typemates.com.
Kerning is missing
In Word and PowerPoint only limited kerning is possible. We can provide you with a customised “Office Version”. Drop us a line at hej@typemates.com.